If you've requested Document Management in your site setup, you will generally have the "DocMan" system. This does three things:
1. allows you to keep all your documents in one place and track updates
2. makes links to documents simple
3. Allows you to restrict who can download which documents
DocMan offers an easy tool to upload files. You will likely want to use PDF format for easy download by your site visitors.* In certain instances you may want Word documents or spreadsheets if the person downloading the file is expected to be able to edit the file, such as an expense requisition form or the organization's letterhead.
* If you don't have a program that creates PDF files, I recommend PDF Creator, which is open source software from SourceForge.
There are two parts to learning to manage your documents. One is using the DocMan program, and the other is linking to those documents using your site article editor.
Learning DocMan
Two functions are necessary here: updating and uploading files. Seems like we're doing this backwards, but there is a reason:
When you UPDATE a file, you must use this method rather than uploading a new file. Updating a file REPLACES the previous file and you will not have to change any links to the document. The FILE NAME of the document you are uploading does not have to be the same as the one it's replacing, BUT the Document Title does!
1. Updating a file
Your User Menu will generally have a link to "ADD DOCUMENTS." Click that and we'll begin.
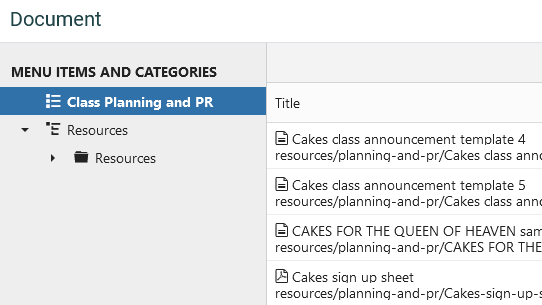
a. You'll see the DOWNLOADS page that lists categories.
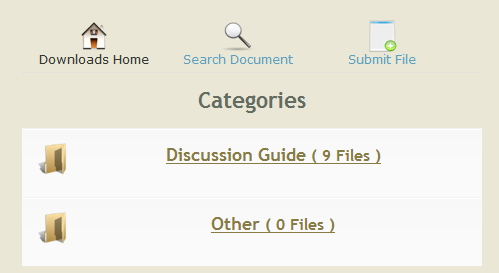
Choose the category your document is in and click the link to it.
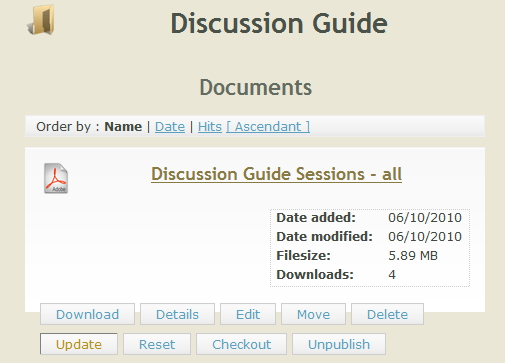
b. You'll see the list of documents. Find the one that you need to update and click on its UPDATE button.
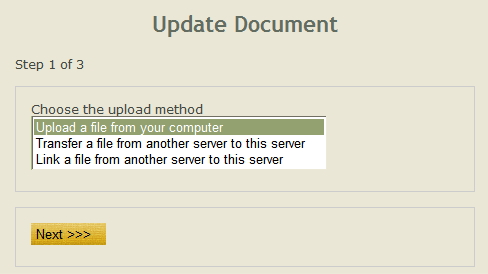
The next screen gives you instructions for uploading a file. Choose and click the NEXT >>> button.
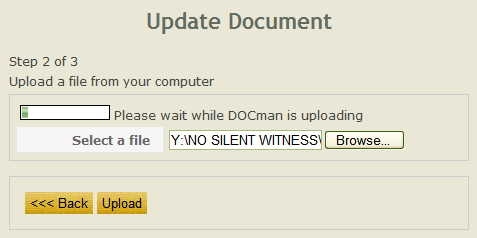
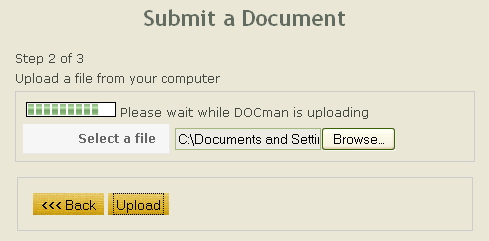
Use the BROWSE button to locate the file on your computer, then click UPLOAD.

The system will let you know it's working:
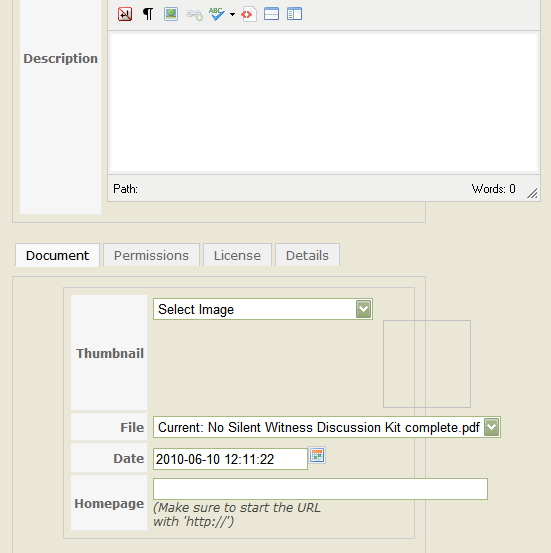
Next you will be able to make changes to the document if needed. I recommend you leave everything the same. Be sure the "Published - Yes" is selected.
Click the SAVE button. The system will let you know the document has been updated. You MUST ALSO APPROVE the document before it will be available to download. The APPROVE button is at the lower right.
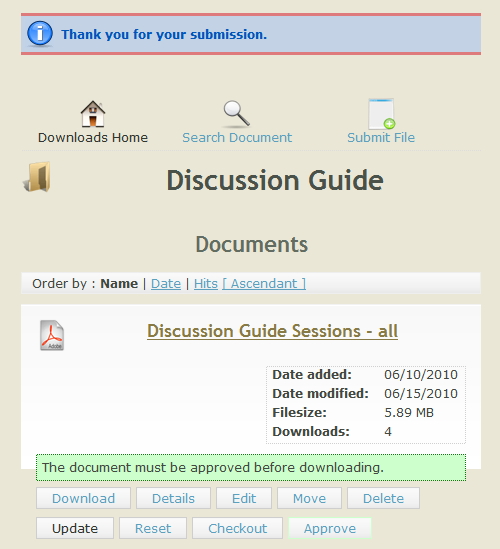
Your update is complete!
2. Uploading a NEW file
Your User Menu will generally have a link to "ADD DOCUMENTS." Click that and we'll begin.
a. You'll see the DOWNLOADS page that lists categories. Find the SUBMIT FILE button near the top right and click that.
Use the BROWSE button to locate the file on your computer, then click UPLOAD.
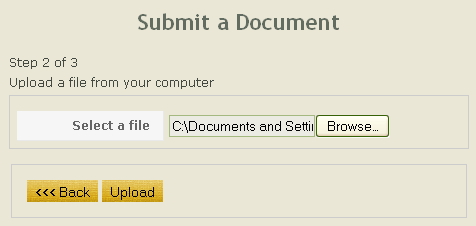
The system will let you know it's working:
Add a Title. By default, the file name is inserted as the title.
Select a Category.
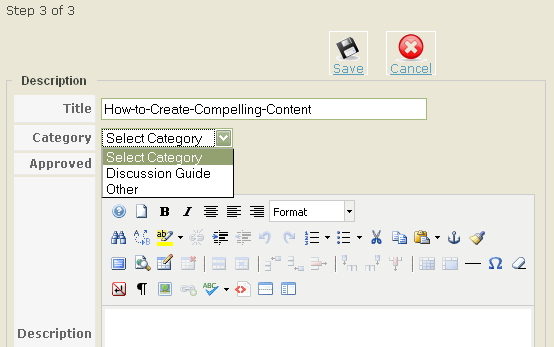
Be sure to check the APPROVED option.

Then if this document is to be available to everyone, click SAVE.

Be sure to click the PUBLISH button at the lower right.
3. Restricting Access to some Documents
BEFORE saving (or, use the buttons below each document to go back and EDIT the document setup) change the permissions:

You may wish to have some documents only available to registered users who will log in to the site before being able to view those documents. Or reference documents for yourself. Either way, this is where you set that up.
4. To Link to Documents
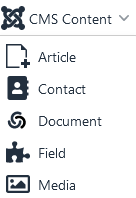
If you DO NOT have DocMan installed, you will not see an Add Document link in the CMS Content dropdown.
You will need to add your documents before you can link to them.
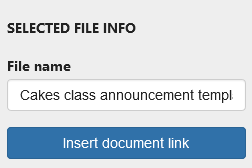
Select Document.
Select document Category.
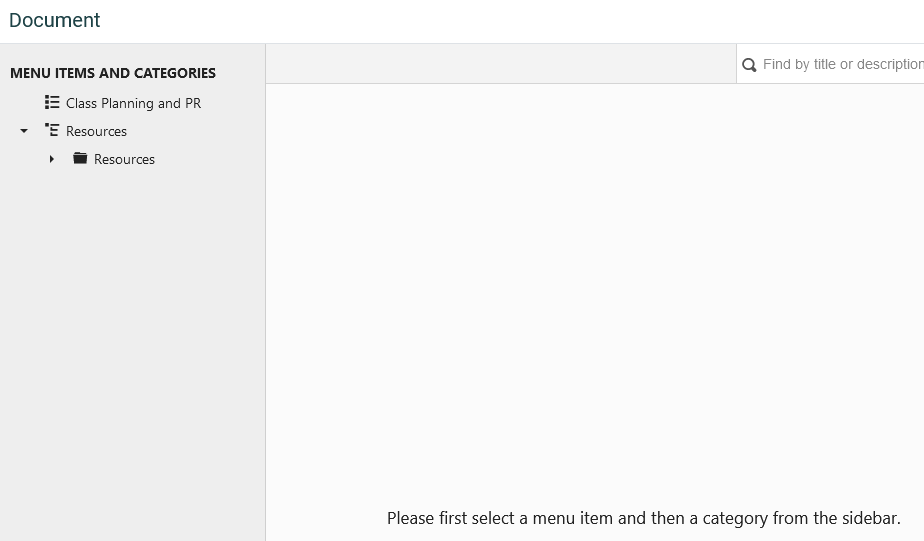
Select Document from the list.
Insert document link.